SARA SUMMERS

Judah - Realtime Character


UE4 Realtime

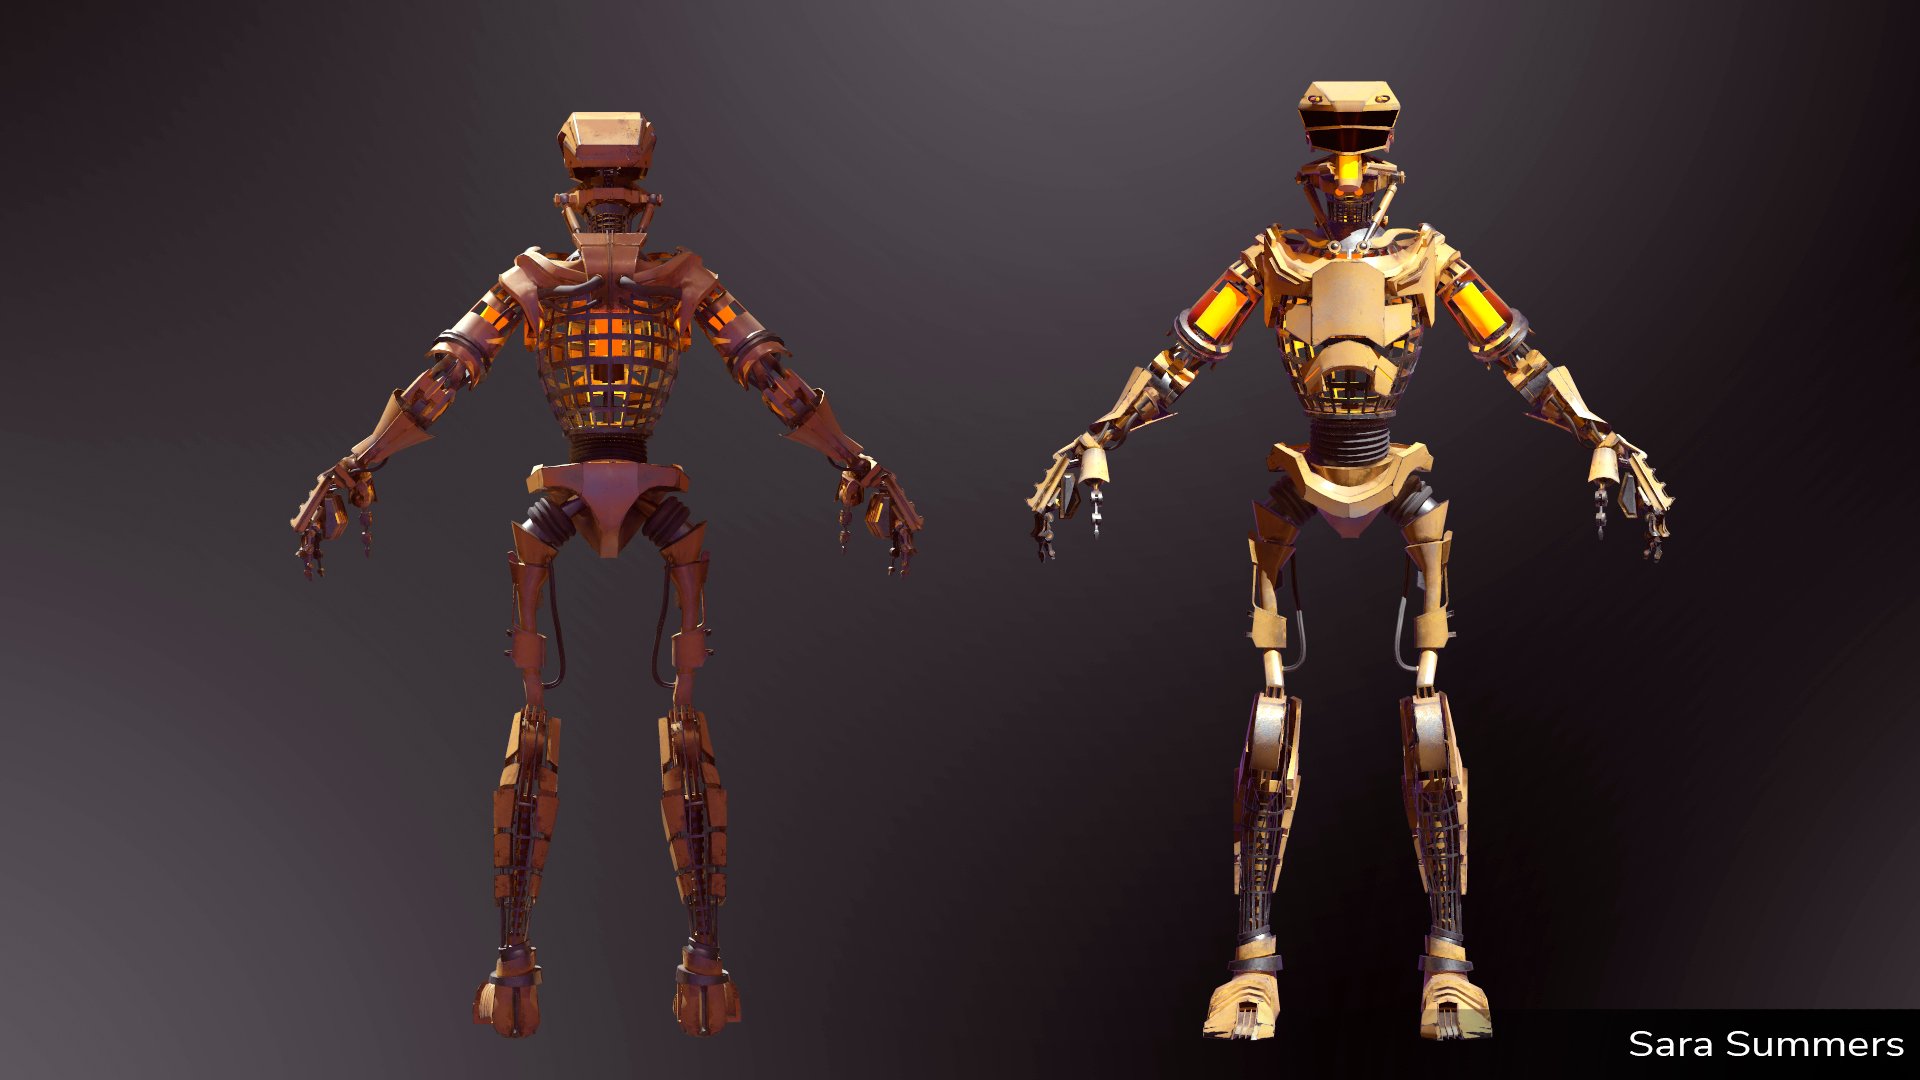
I love the style of cyberpunk, but wanted to challenge myself to design a style that feels vintage and worn-in opposed to the neon newness of most of the genre. For this character in particular, my goal was to make a realistic style of clothing for a character living in a desert climate.

UE4 Realtime

UE4 Realtime


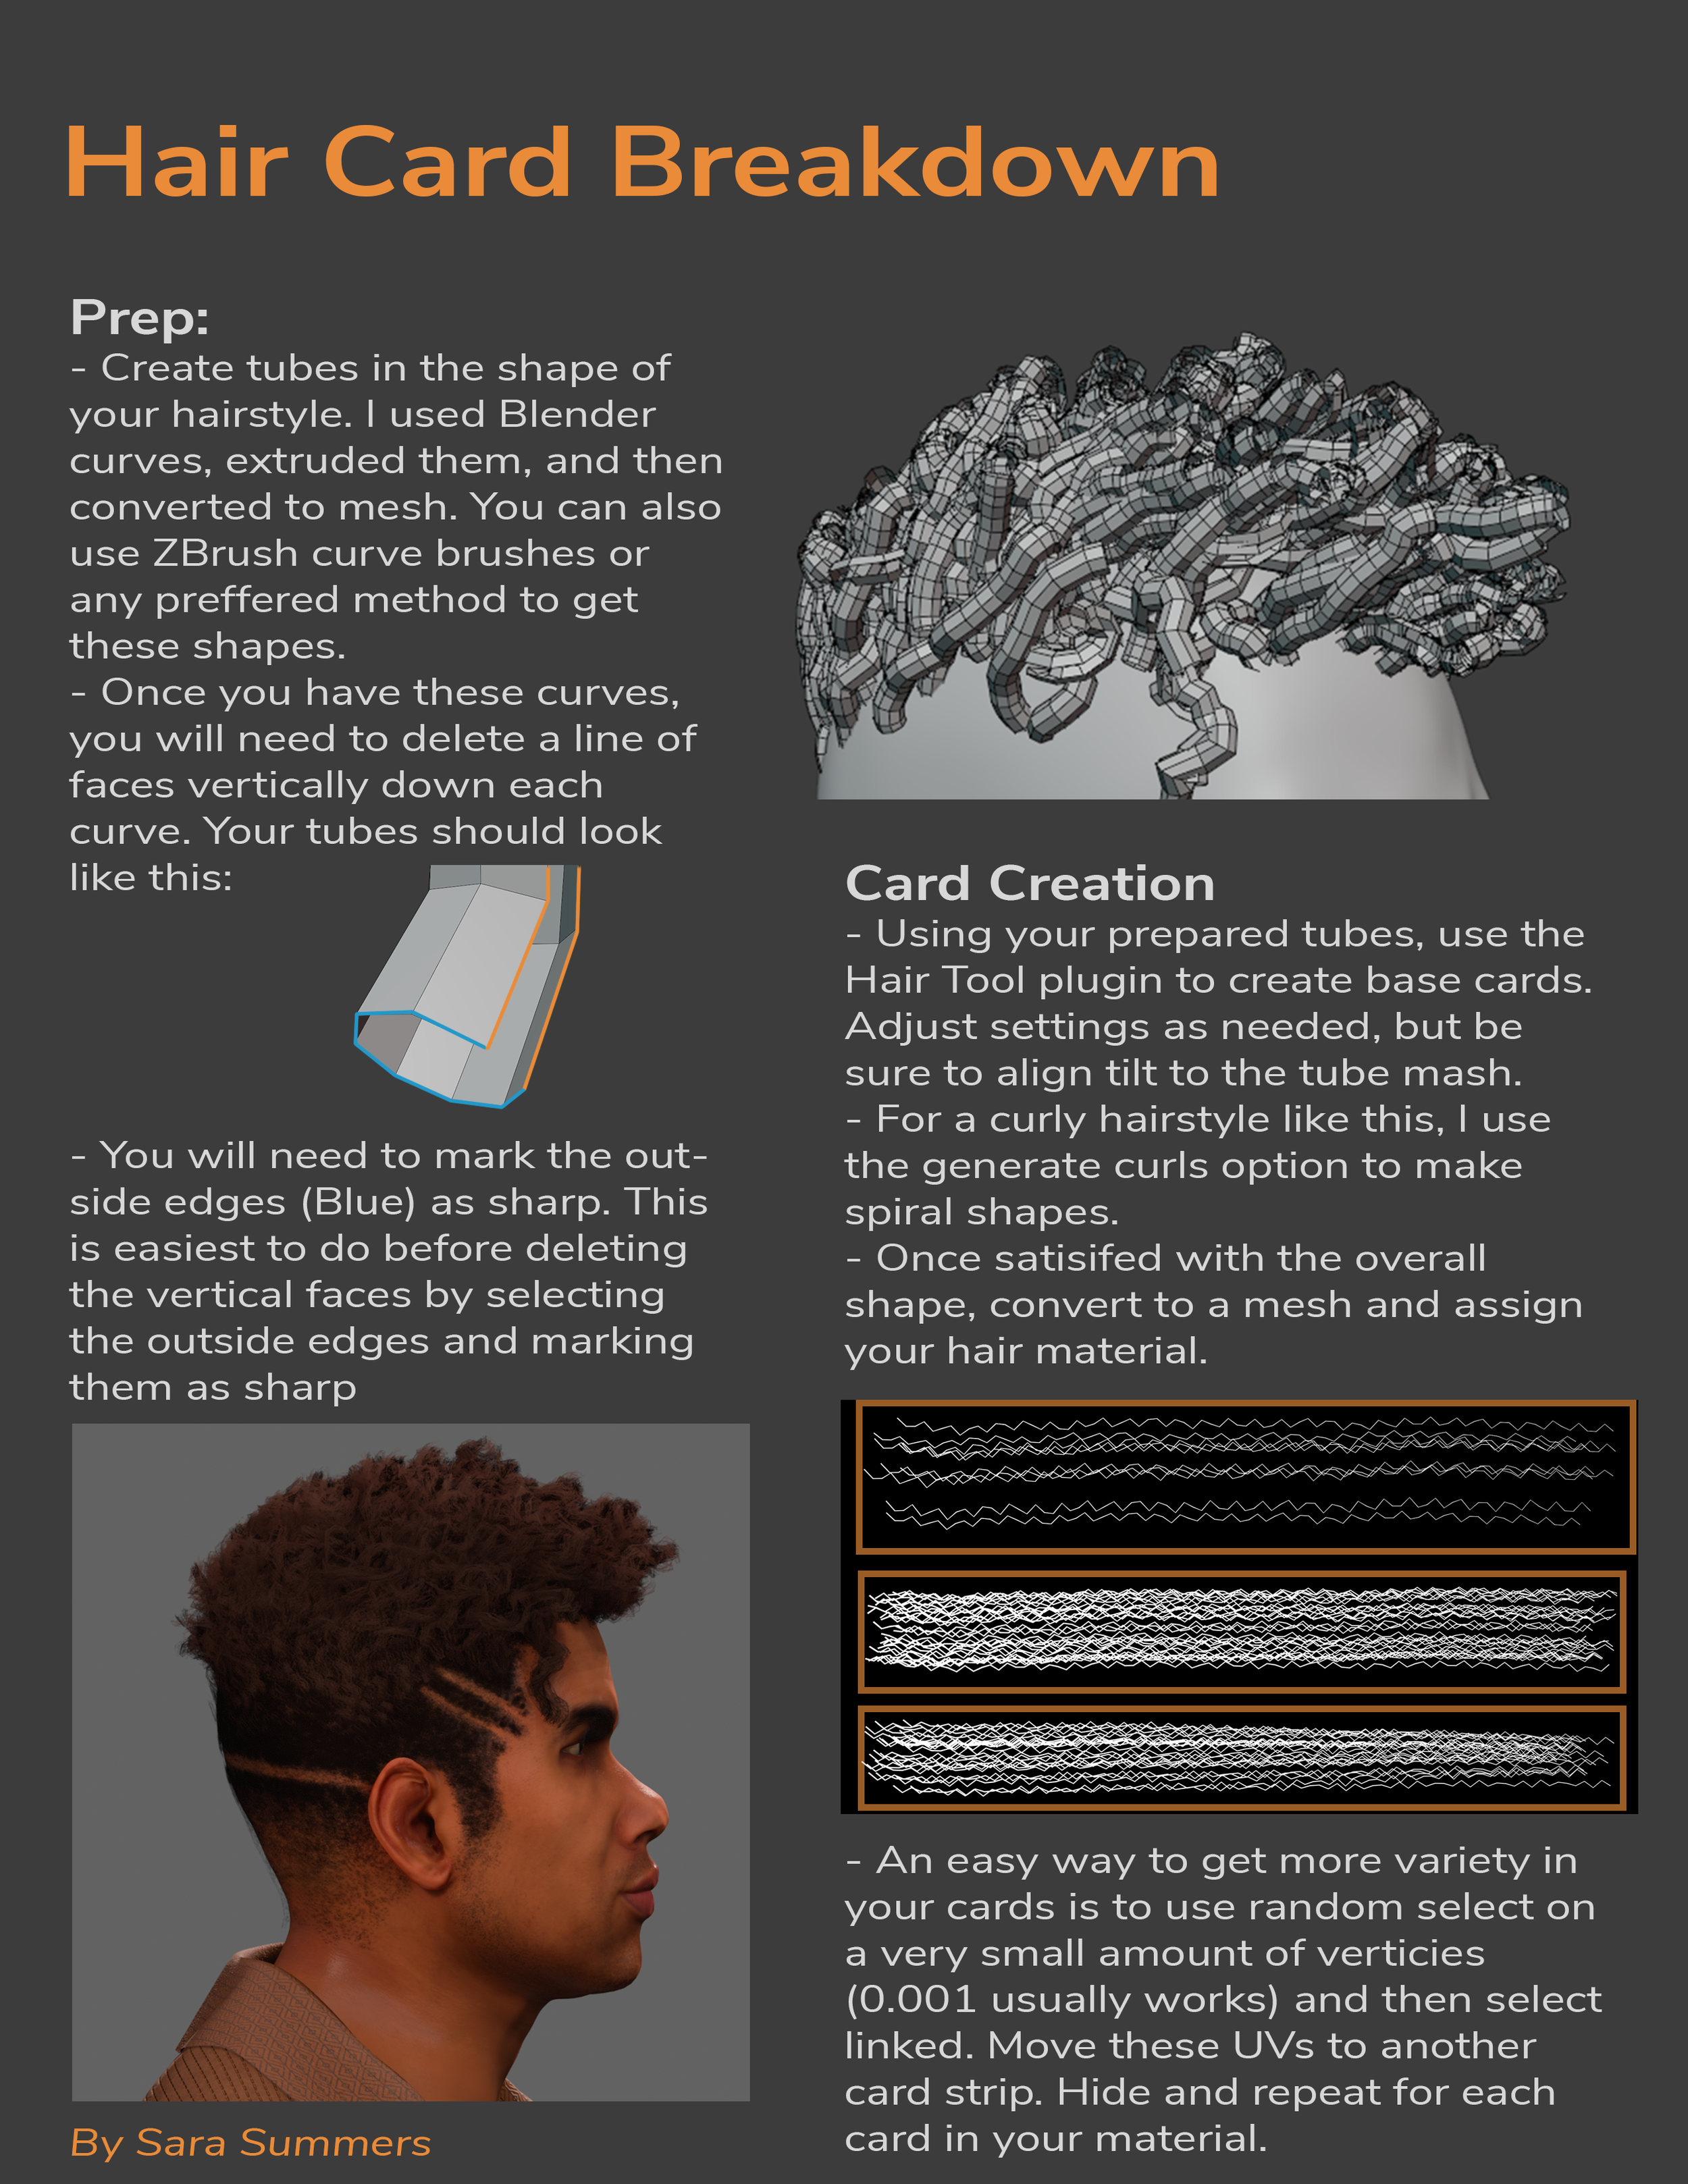
This character initially began as a hair study. I hadn’t yet tried to model curly/textured hair and this was my first finished attempt. I redid this hair several times, adjusting the cards and placement as I learned more. After going through the process a few times, I made a quick guide explaining my process. Due to the constant iteration, I was able to create a pretty quick pipeline for creating hair.


Marmoset Wireframe

Marmoset Render

UE4 Realtime


For the fabrics, I made a custom shader that uses channel packed textures to mask out pieces of a mesh and applies different 'materials’ to them - all within one material. On this shirt, for example, there are three distinct submaterials: the main pattern, the collar/trim and the light orange detailing. In addition to that, the patters are completely customizable and accept any black and white image as a mask. This material also has functions that allow detail normals, grime and edge masks, and custom stitch colors.

Since I plan on using this material for multiple characters, I wanted to put as much back end customization as possible into it.


See my full process of this character on my Ploycount thread

The Outer Worlds Saloon


ezgif-6-998b8cd2d13d.gif

I played Obsidian’s ‘The Outer Worlds’ recently and felt inspired by the style of the environment art. It has this interesting art deco meets sci-fi meets old west thing going. I like it. This also gave me the chance to improve my rendering and get better acquainted with Maya’s Arnold renderer.


Mech Wanderer


I wanted to build a mech character using only hard surface modeling. No ZBrush, Marvelous Designer, or anything. I got to experiment with modeling techniques and figured out new ways to get clean meshes and rigs!

Also a friend said I should give him a lightsaber. Now he has two.


Lady Gaga Study


Video of the full sculpting process


I’m a huge Lady Gaga fan, and I adore her many hair and makeup looks. To get better at modeling hair cards, I decided to make a series of studies recreating some of my favorite of her hair looks.

The process I’ve been experimenting with is done by shaping the hair with polygonal curve meshes in ZBrush and then exporting them to Blender. Using the Hair Tool plugin, I make hair card planes using my ZBrush curves as guides.


1 - Marry the Night

Final composite render

Untextured hair cards

Reference

2 - Sydney Monster Hall

Final composite render

Wireframe

Reference

MonsterHall.gif

3 - Telephone

Render

Wireframe

Reference

Reference


Beards and Brews

The Bearded Lady!

I do promotional art for a charity festival called the Beards and Brews festival. Usually, I make illustrations of our mascot, The Bearded Lady, in the style of a famous artist or designer. This year, I decided to make a Greek-insipred sculpture that could be 3D printed into little statuettes.

My main priority with this sculpt was making a model suitable for 3D printing. To do this, I had to combine my sculpt into a watertight mesh and manually fix any non-manifold geometry created by the auto-decimator. I was able to optimize the mesh down to 250,000 faces. Since there are no normal maps in 3D printing, I focused on preserving as much detail as possible on the mesh itself. The topology isn’t pretty, but it works great for this use case.

Gideon the Ninth

Gideon Nav

Harrowhark Nonagesimus

speeeeeed

After blazing through Tamsyn Muir’s Gideon the Ninth in a couple of days, I had a weekend to kill waiting for the second book. I wanted to challenge myself to do a portrait render of the two lead characters in one day each. To finish in time, I used some assets from 3D Scan Store to start me off.

Made in ZBrush, Blender, Substance Painter, and Marvelous Designer


Retro-future Laboratory


This environment is inspired by the series ‘Maniac’ on Netflix. I love the retro sci-fi look they achieved and wanted to try and attempt it myself. This is still a work in progress, but here are my completed assets so far:


Cyber Crab

The is a commission for the VRChat club, FTR. The owner of the club asked me to make a cyberpunk crab DJ, which is a fantastic combination of words. This was really fun to work on. I love the style the client requested and had fun with the concept. I also did some logo design and art for the club.

 
Logo_BWShortTransparent.png
 

 The Crawler

I wanted to do some experiments making odd-shaped mechanical models. I kept coming back to this turtle/crab look. I call it the crawler - it roves the desert scavenging with a mysterious crew inside.

giphy.gif

Cyberpunk Balrog 


You shall not pass

I have a group of friends I worked with in college, and we always talk about making a game together again someday. So far, the only things we have decided about this game are:

1) The game will be cyberpunk themed

2) There’s a character with a whip.

I present Cyberpunk Balrog.


FLy, you fools!

I love The Lord of the Rings. I love Balrogs. They have such a menacing design; even in the books. They’re described as being surrounded by shadow but still appearing to have the same general shape as a human. I wanted to use that idea for this character. Within the context of the hypothetical (for now) game, I picture this character emerging from darkness with only its bright orange lights depicting its form. The creature is entirely mechanical, and the thin steel wings are there more for show than any practical purpose.

Whip it!

This is my first made-from-scratch character rig. I got to learn a lot about what makes a rig easy to use. I used set driven keys to control different aspects of the wings. This proved much easier to animate with than moving individual controls around. The part I had the most difficulty with was the whip. I ended up using Jørn-Harald Paulsen’s method found here. That gave me a lot of freedom to shape the curve of the whip.